MAC-OS
I was just struggling with variables in MacOs Automator and so here is what I ended up with
Just Saying …
Every one needs a backup plan. I’ll do mine tomorrow …
We’ve all probably experienced, at the very least, that fear of having just lost a load of work; perhaps an MS-Word document has just disappeared or even worse a whole disk has gone up in smoke and you didn’t get round to doing a backup recently or even ever!
I use a Mac, so I have the comfort of knowing that time-machine is managing my backups. I have 2 backup disks plugged in permanently and these are snipping away at my work throughout the day, pushing them off onto backup disks. I also use Backblaze. Calle me paranoid but what if my house burnt down. Cindered time-machine disks wouldn’t save me then!
But it recently occurred to me that I don’t regularly backup my development databases, so before disaster strikes there, I wanted to get something automated.
I don’t find Automator that easy to use, so I often just bung something in cron. But, this time I prevailed and though it’s really really simple, it took me a few hours to get it working properly.
To save you a few hours, this is how I did it;
So I decided to use mysqldump out to a file with a date stamp as part of the file name, like all-databases-2021-08-01.sql.gz
I tried using the built in variables in automator, which (apparently) you the use in the bash script using the “$@” symbol – but I couldn’t get that to work, so in the ned I did the ibvious thing and set up a variable in bash script with today’s date.
Here it is …
now=`date +”%Y-%m-%d”`
/Applications/MAMP/Library/bin/mysqldump -u root -p”rootpassword” –all-databases | gzip >/Volumes/db-dumps/all_mamp-“$now”.sql.gz
So I decided to use mysqldump out to a file with a date stamp as part of the file name, like all-databases-2021-08-01.sql.gz
I tried using the built in variables in automator, which (apparently) you the use in the bash script using the “$@” symbol – but I couldn’t get that to work, so in the ned I did the ibvious thing and set up a variable in bash script with today’s date.
Here it is …
On the left here (or above on mobile), I’ve added a widget using Divi’s sidebar module. I used the standard WordPress “Recent Post” widget.
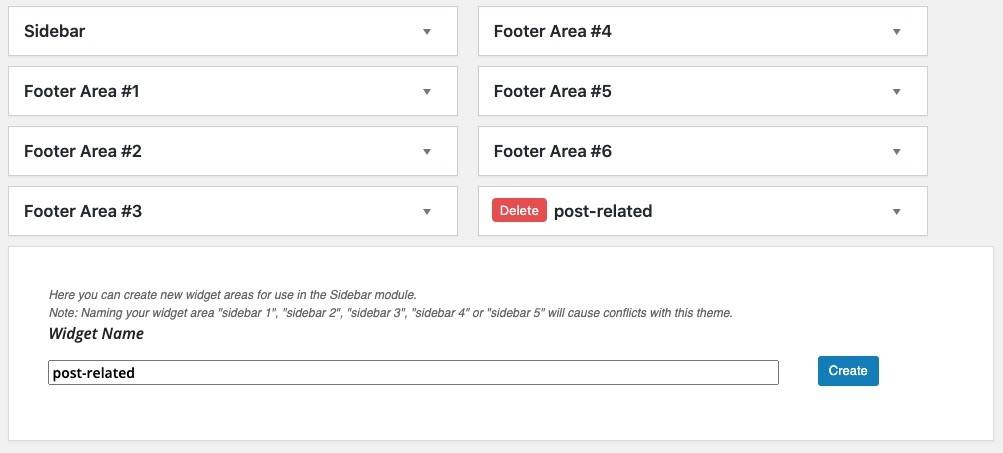
To do this, in another window or tab, go to > appearance > widgets and create a new widget area. I called it “related-post”. Note; you may need to refresh the page to display it.
Add the “Recent Post” widget into your new widget area and configure it as you like.

Go to the Post that you are working on. Decide where you want to show your Recent Post widget. Is it going to be on one side like mine or perhaps occupy a full row. the choice is yours.
To add the sidebar module, click the grey plus icon in Divi in the section and/or row that you have created. Choose the “sidebar” module and then choose your new widget area “related-posts”.
So that’s how you add a standard wordpress widget.
Next we want to add something a bit more clever, something with Divi content.
In a new window, create a new post and load a premade layout. I’m going to use the Coffee Shop About page layout.

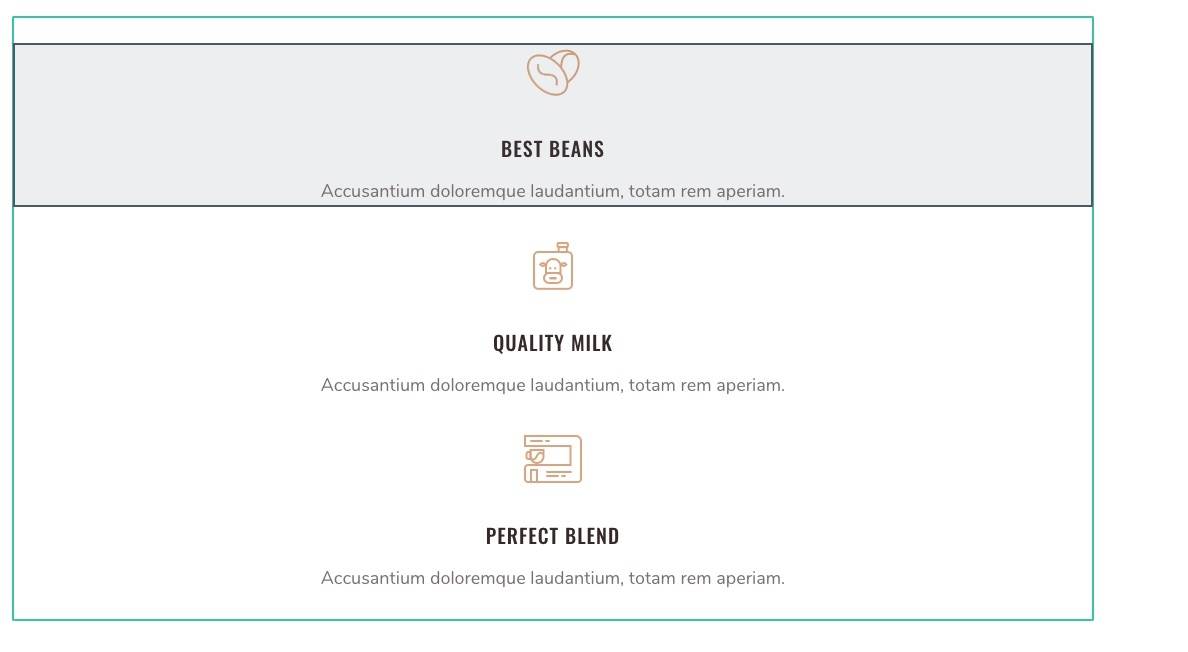
I then changed the icons below “The Best Coffee Shop” section into a single column by clicking on the green columns icon in the top left and choosing a single column.

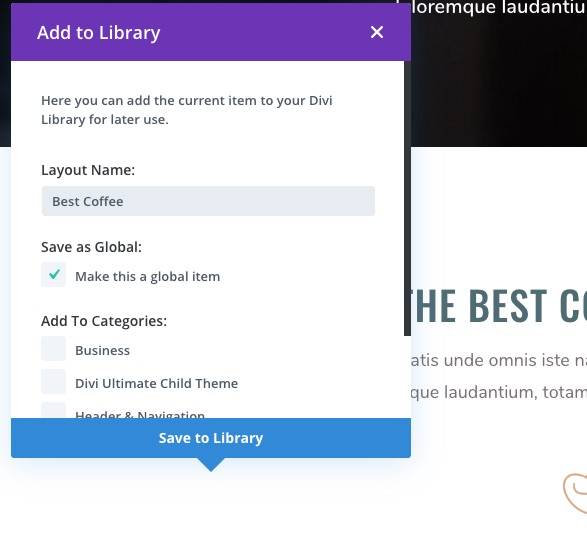
.Right click the green section and choose “Save to Library” at the top of the menu. Give the library a name and make sure you tick the “Make this a Global Item” option

Now discard the new coffee shop post and go to your Divi library, > Divi > Divi Library.
Find the layout you just saved and hover over the edit just underneath the title of the layout. Record the post number that you see in the link normally shown at the bottom left of your browser. My post ID is 209226.
Then go back to your widget area, > appearance > widgets
Create a new widget area, I’m calling mine “Best Coffee” . The add a “Custom HTML” widget into this new widget area.
and then … here comes the magic … paste in the following code but change my post-id for the one you recorded above.
note: Divi seems to be REALLY fussy and you must NOT put quotes around the Post ID otherwise it will fail
<aside>[et_pb_section global_module=209226][/et_pb_section] </aside>
Now go back to your post and add another Divi sidebar module as earlier but this time choose the “Best Coffee” widget area.
If you can’t see your new widget area, you may need to save your post and reload the page first.
Notice that I placed the html markup <aside> around my sidebar widget. This is to tell search engines that this block is not directly relevant to the subject of the page. This will help to tell the search engine to both ignore this block when indexing the page and in that way to not get penalised (penalized for Americans) for duplicate content.
When you export your Divi module / row / section make sure that you use the saved library in the same way. You cannot save a row and then try and display it as a module in an existing row. If you followed this tutorial step-by-step you might be trying to display a row as a module – UH..OH.
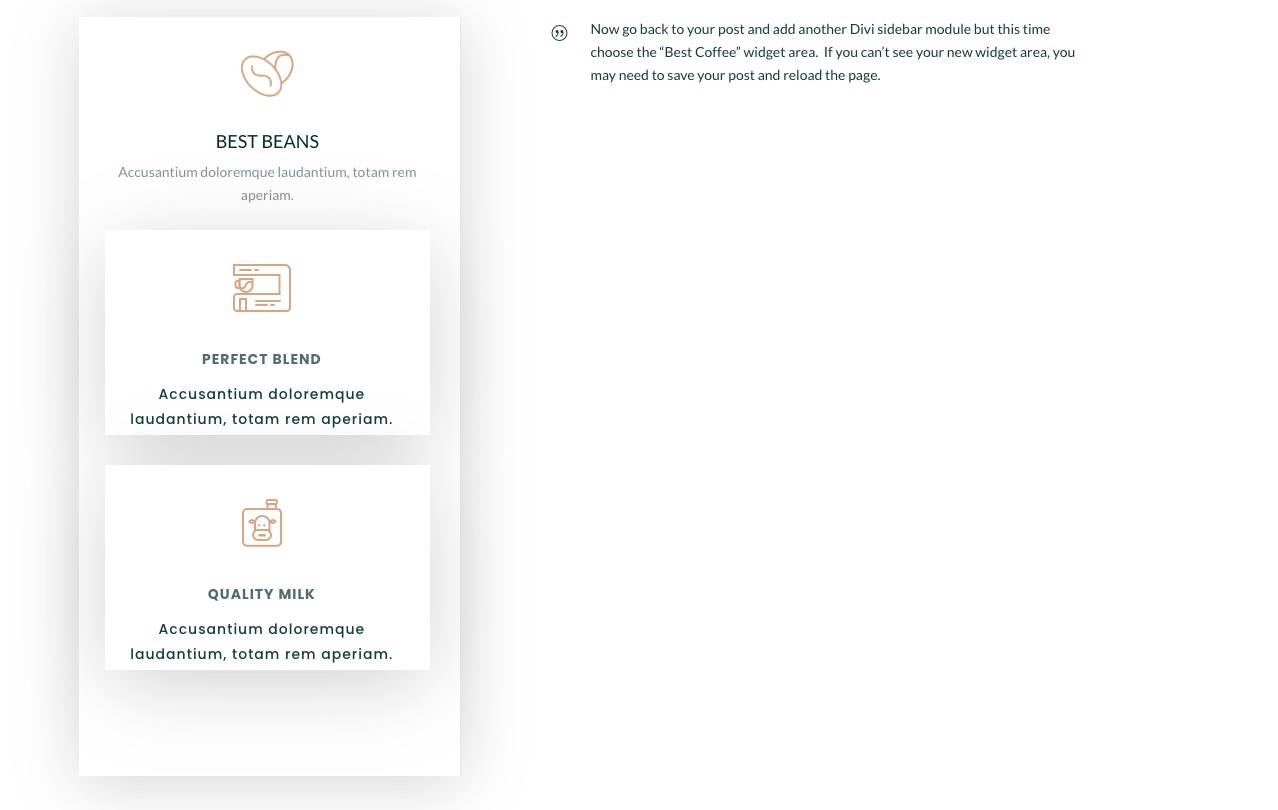
You will end up with some mess like this:

In this case we have the choice, of either changing the layout so that our sidebar is a full row OR, as I have done here, exporting just the “BEST BEANS” module and including it in a column within a row. The choice depends on what layout you are trying to achieve.


